Sometimes really simple things can make a really big difference in the end results. That’s the case with Head Rush devices and device orientation. Properly mounting your device, with the correct orientation, can make a big difference in the overall experience for your participants. It can also make a big difference in the way your webbing wears.
Always read the Head Rush product manual for information on proper installation, operation, and inspection of your device. Following these guidelines will increase your ROI over time by improving the user experience and increasing your webbing’s lifespan. The video below outlines proper device orientation for the TRUBLUE Auto Belay, QUICKjump Free Fall device, and the FlightLine Free Fall device.
In addition to the video below, this short white paper from Head Rush covers additional information about how to maximize the life of your webbing.
VIDEO TRANSCRIPT:
Proper device orientation will create the best user experience and will also help maximize the life of your webbing. This video will show you the proper orientation for your TRUBLUE, QUICKjump, and FlightLine devices.
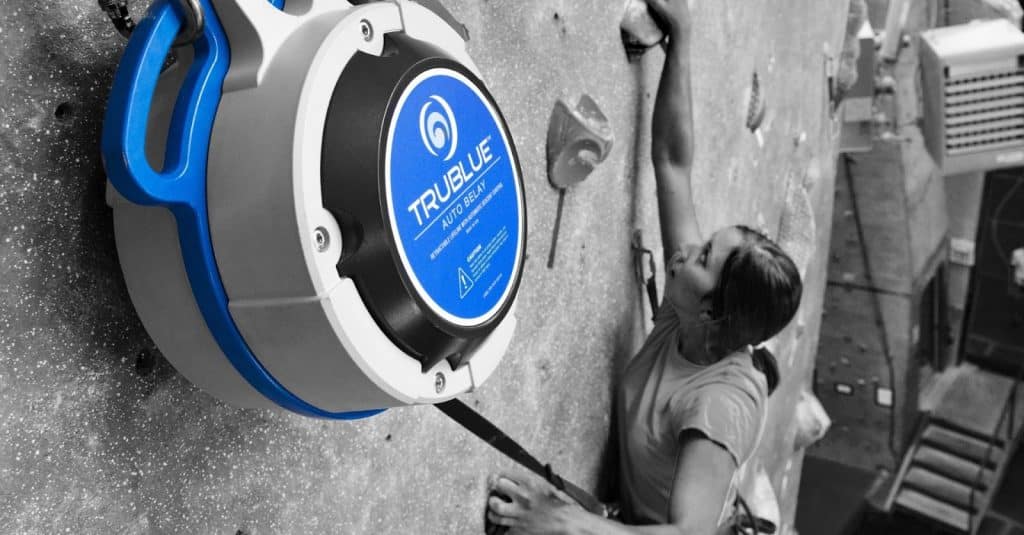
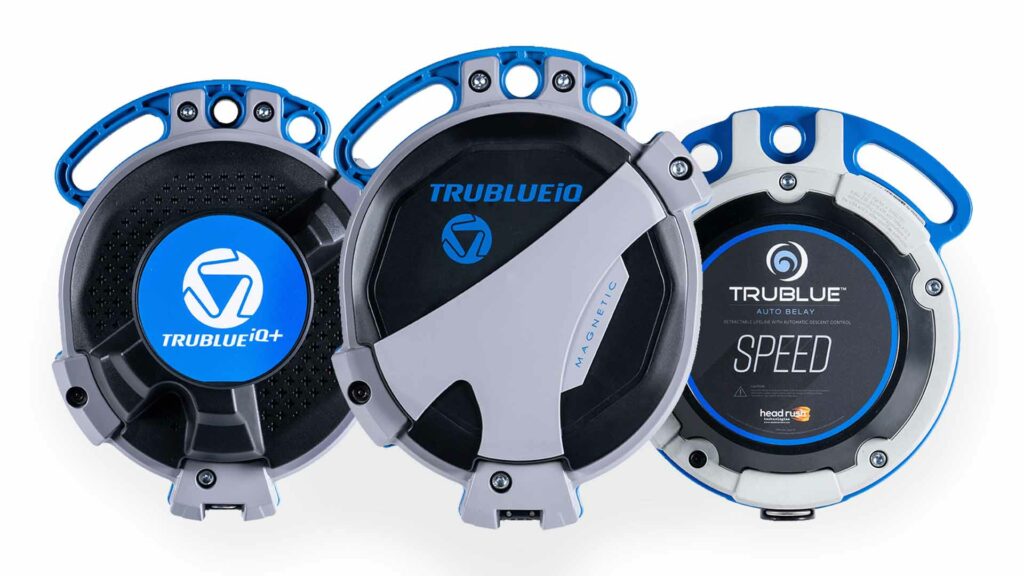
TRUBLUE Auto Belay: The round covers of your TRUBLUE Auto Belay should be parallel to the climbing wall. This minimizes the wear on your webbing if the TRUBLUE sways or the climber moves left or right.
QUICKjump Free Fall: The QUICKjump should be mounted so that participants are looking at the narrow side of the device and the broad face of the webbing when they are on the jump platform. Participants should be able to step off the platform directly in line with the device, not from an angle.
FlightLine Free Fall: The FlightLine should be mounted so that the narrow side of the unit and the broad side of the webbing face the platform and the rider’s jump direction. Always mount the device so the shorter webbing leg is closest to the descent path of the rider. Participants should be able to step off the platform in line with the device, not from an angle.


